Alas, at this point I've come a long way in the build, and my phone is filled up with pictures. I thought it might be an idea to post this update, just as a "mid-way point" marker, to show where the build is now. I'll walk you through the pics on my phone, in chronological order.
This is by no means intended to be a documentation of the entire build, but is instead more of a diary, showing pictures I just happened to take along the way. If you're looking for instructions on how to build your own TARDIS, I have two resources to recommend.
The first I simply cannot recommend enough, and has become the bible for this build. It is Philip Wise's TARDIS build thread on the RPF.
To see other people's work, and to read up on other variants of the TARDIS, please be sure to check out www.tardisbuilders.com
As with all projects, things started humbly. Since I knew we were going to be following Philip's build, this meant we would need a biscuit cutter. This was the first of MANY trips to Home Depot.

I knew we would also need a crap-ton of clamps. But they are not cheap! The ones we needed were just under fifteen bucks each, if memory served.
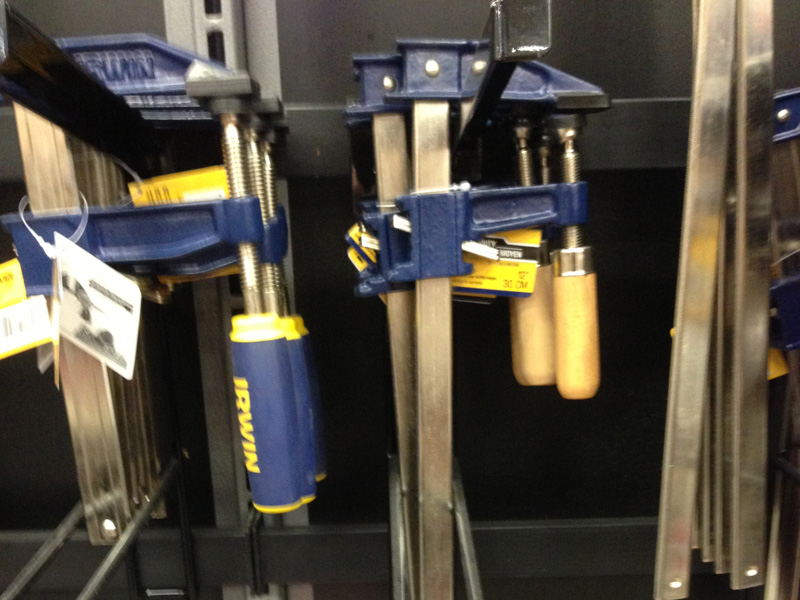
Fortunately for me, there is a Harbor Freight store nearby. They have similar model clamps that do the same thing, but are about a third of the cost. So I purchased twice as many as I would possibly need, of course. This is just one pile. I got another style too.

This is my proof of concept piece. This is where I learned to use the biscuit cutter, how to measure everything, and perfected my process for making the posts.

With the POC complete, I moved on to constructing a POC post. This was intended to be throw away work, as I figured I would screw it up along the way. Here you can see the post all clamped together and drying. This was back when I still had the Batmobile in the garage. Man, so little room!

Here's the post all glued together, and with the edges sanded. Of course, I had to buy a belt sander for this. Worth every penny.

With the post all assembled, it was time to cut it to length. I build a little sled to ensure that my rotary saw would cut it off square. Or relatively so.

I routered out the tops of the posts so that I could fit caps inside. Fortunately I already had a really nice router on hand, so that was a purchase I didn't have to make. I built an expanded bed on it so that it would cut properly in larger areas.

Then I built these inserts that would go into the base of the posts. These would go into the base, holding the posts upright.

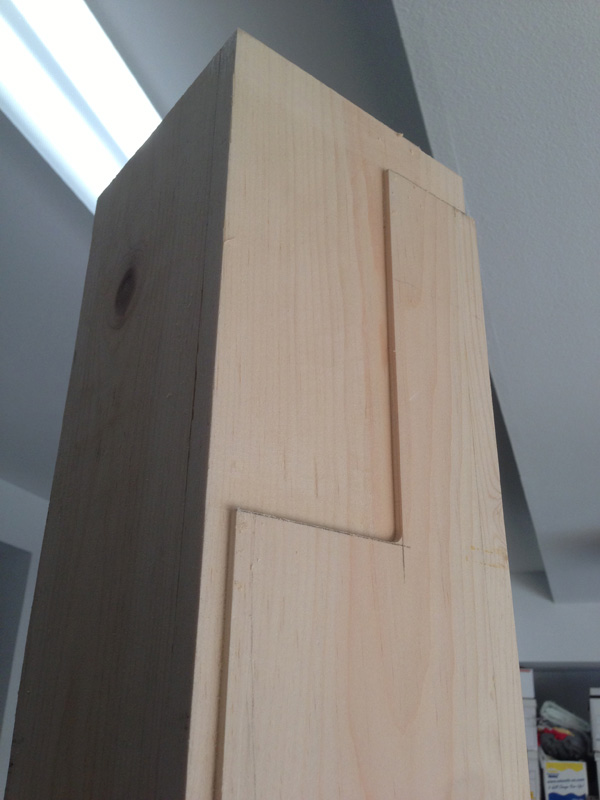
I built a jig so I could router out the details at the top of the posts.

Here's how the first one turned out, with me setting up for the next one.

First post all routered!

And lastly, the first post standing upright and finished!
More soon!
If you've just found this blog now, be sure to check out this video I made of the TARDIS build progress. It's chronologically a bit out of order, but you'll figure it out.
No comments:
Post a Comment